
Before you can create Product Boost campaigns and receive funding from vendors, you must opt in to Retail Media and establish an in-platform connection with your vendors.
Coming soon: This functionality is coming soon. For now, contact support to get access to Retail Media.
Opting in:
Allows you and your vendors to access extended reporting for the Product Boost campaigns you create.
Allows vendors to fund your campaigns and you to handle the invoicing either within or outside the impact.com platform.
To enable it:
From the top navigation bar, select
![[User]](https://paligoapp-cdn-eu1.s3.eu-west-1.amazonaws.com/impact/attachments/f01cdffa431a4d75ff09c130b66974d4-ec4c7b9aa5792fe725406b280fb272b1.svg) [User profile] → Settings.
[User profile] → Settings. In the left column, under General, select Retail Media Solution.
![[Toggle on]](https://paligoapp-cdn-eu1.s3.eu-west-1.amazonaws.com/impact/attachments/f01cdffa431a4d75ff09c130b66974d4-84d1224fd3bb6ba94b899febe2021eaa.svg) [Toggle On] Enable Retail Media Solution.
[Toggle On] Enable Retail Media Solution.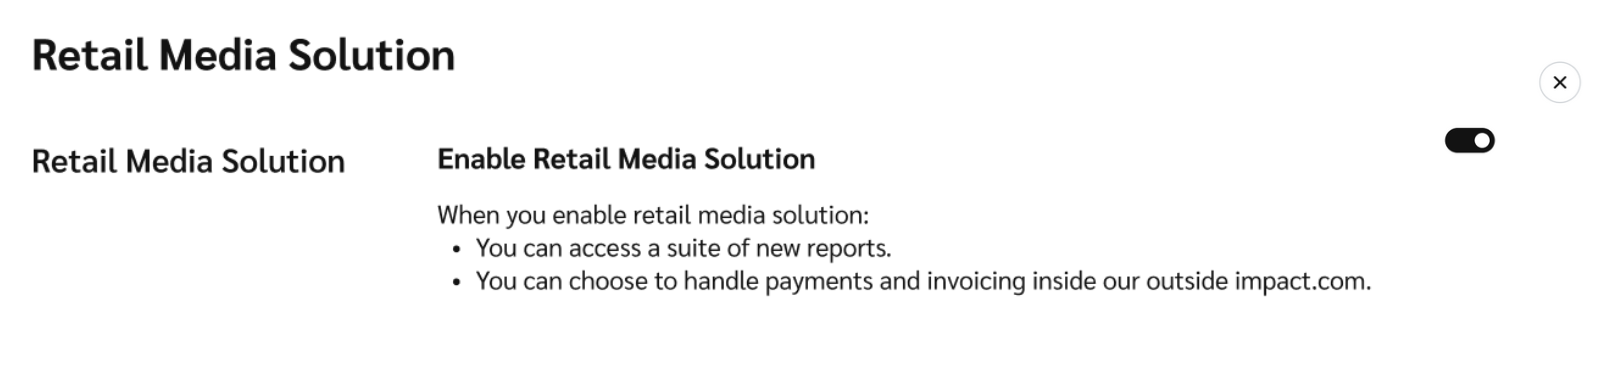
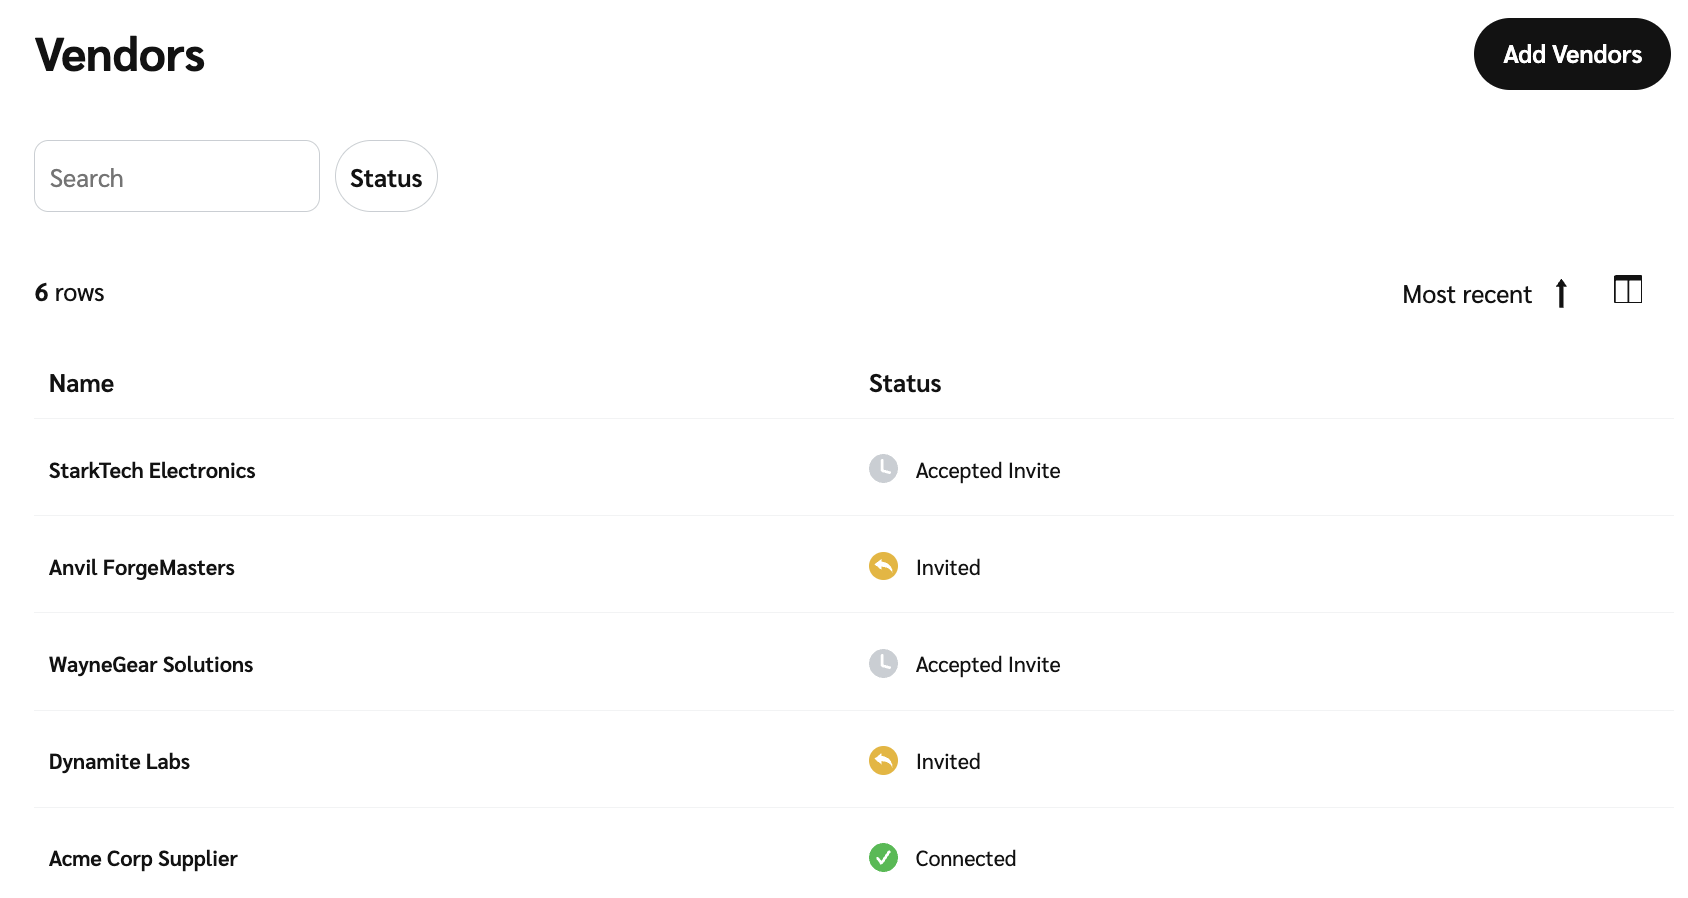
Once you’ve opted in, you’ll be able to navigate to the Vendors screen from your left navigation bar:
From the left navigation bar, select
![[Engage] v2](https://paligoapp-cdn-eu1.s3.eu-west-1.amazonaws.com/impact/attachments/f01cdffa431a4d75ff09c130b66974d4-aa671735ec2b65af79961eaf59ab60af.svg) [Engage] → Vendors → My Vendors.
[Engage] → Vendors → My Vendors.This screen offers a list of vendors that impact.com pre-added automatically from your product catalogs. These are the vendors who supply the products sold on your platform.
The first time you visit this screen, all vendor statuses will show as
![[Exit]](https://paligoapp-cdn-eu1.s3.eu-west-1.amazonaws.com/impact/attachments/f01cdffa431a4d75ff09c130b66974d4-399846d614664f4ba534aaa133b1e314.svg) [Not Connected].
[Not Connected].
To start collaborating with vendors in Product Boost campaigns, invite them to connect with you.
Connect with a vendor that’s already been added to your My Vendors screen.
Hover over the vendor you want to connect with, then select Invite.
On the slide-out, fill in the following fields:
Field
Description
Vendor name
This is the name of the vendor brand.
Contact name
Enter the name of the vendor contact you want to reach out to, e.g., Pepper Potts.
Email
Enter the email address to which the invitation should be sent, e.g., pepper@starktech.com.
Message
Include an optional note explaining how collaboration could be mutually beneficial. This message will appear in the body of the invitation email.
Select Invite.
The vendor’s status should update to
![[Countered]](https://paligoapp-cdn-eu1.s3.eu-west-1.amazonaws.com/impact/attachments/f01cdffa431a4d75ff09c130b66974d4-e86e9225d87eb8a25d637a1e5a9d03c9.svg) [Invited], indicating that your invite has been sent via email. Once the vendor accepts, the status will change to
[Invited], indicating that your invite has been sent via email. Once the vendor accepts, the status will change to ![[Checked circle]](https://paligoapp-cdn-eu1.s3.eu-west-1.amazonaws.com/impact/attachments/f01cdffa431a4d75ff09c130b66974d4-c0035f0a3225b3662a3351a8783f01d5.svg) [Connected].
[Connected].
Add a vendor not listed on your My Vendors screen and invite them to connect with you.
In the upper-right corner, select Add Vendors.
On the slide-out, fill in the following fields:
Field
Description
Vendor name
Optionally, search for and select the vendor’s Retail Media program name from the drop-down menu. Leave this blank if you don’t know the name of their Retail Media program.
Send an invite
[Toggle on] this setting to ensure the vendor receives a connection request.Contact name
Enter the name of the vendor contact you want to reach out to, e.g., Pepper Potts.
Email
Enter the email address to which the invitation should be sent, e.g., pepper@starktech.com.
Message
Include an optional note explaining how collaboration could be mutually beneficial. This message will appear in the body of the invitation email.
Select Add & Invite.
The vendor should appear on your My Vendors screen with the
[Invited] status, indicating that your invite has been sent via email. Once the vendor accepts, the status will change to [Connected].
Now you’re ready to create Product Boost campaigns and request funding from connected vendors.