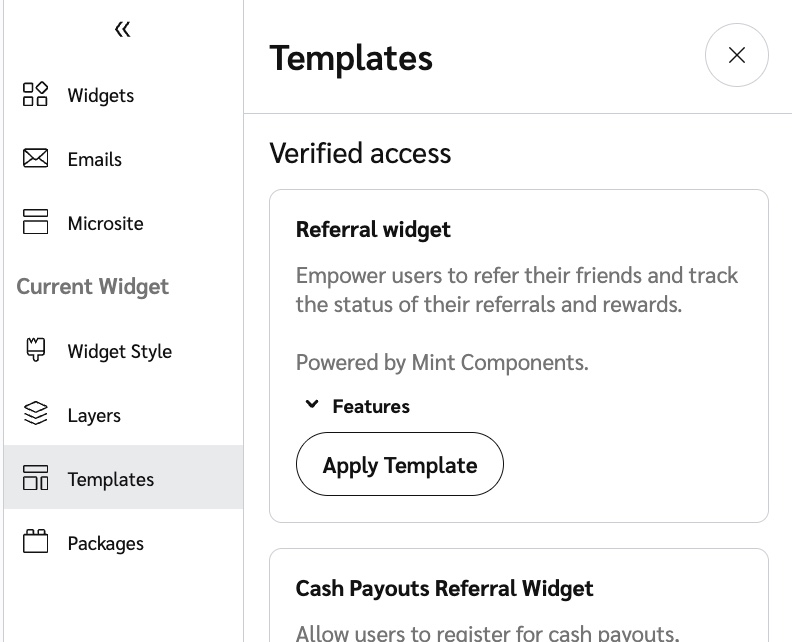
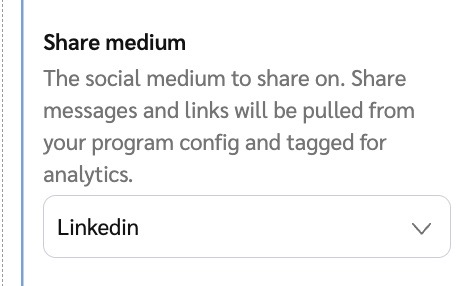
From the left navigation menu, select
[Engage] → Content.
On the Widgets card, select Edit widgets.
From the left slideout menu, select the name of the widget you want to edit.
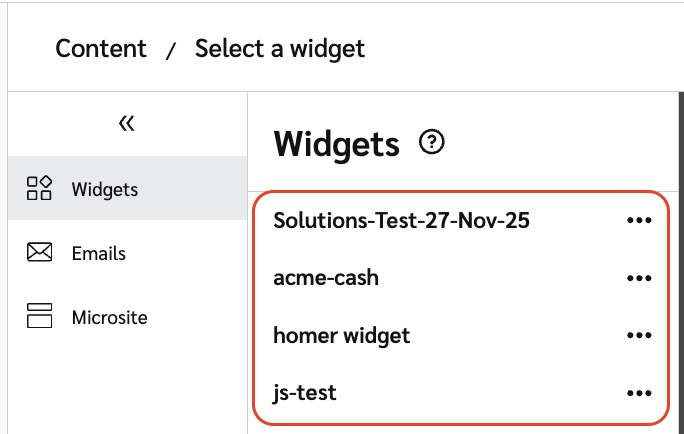
You can add, edit, move, or remove components to modify the content your customer advocates see in the widget.
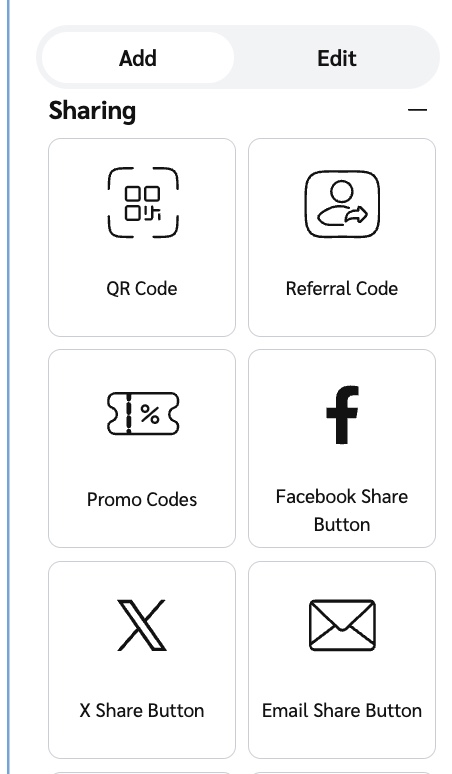
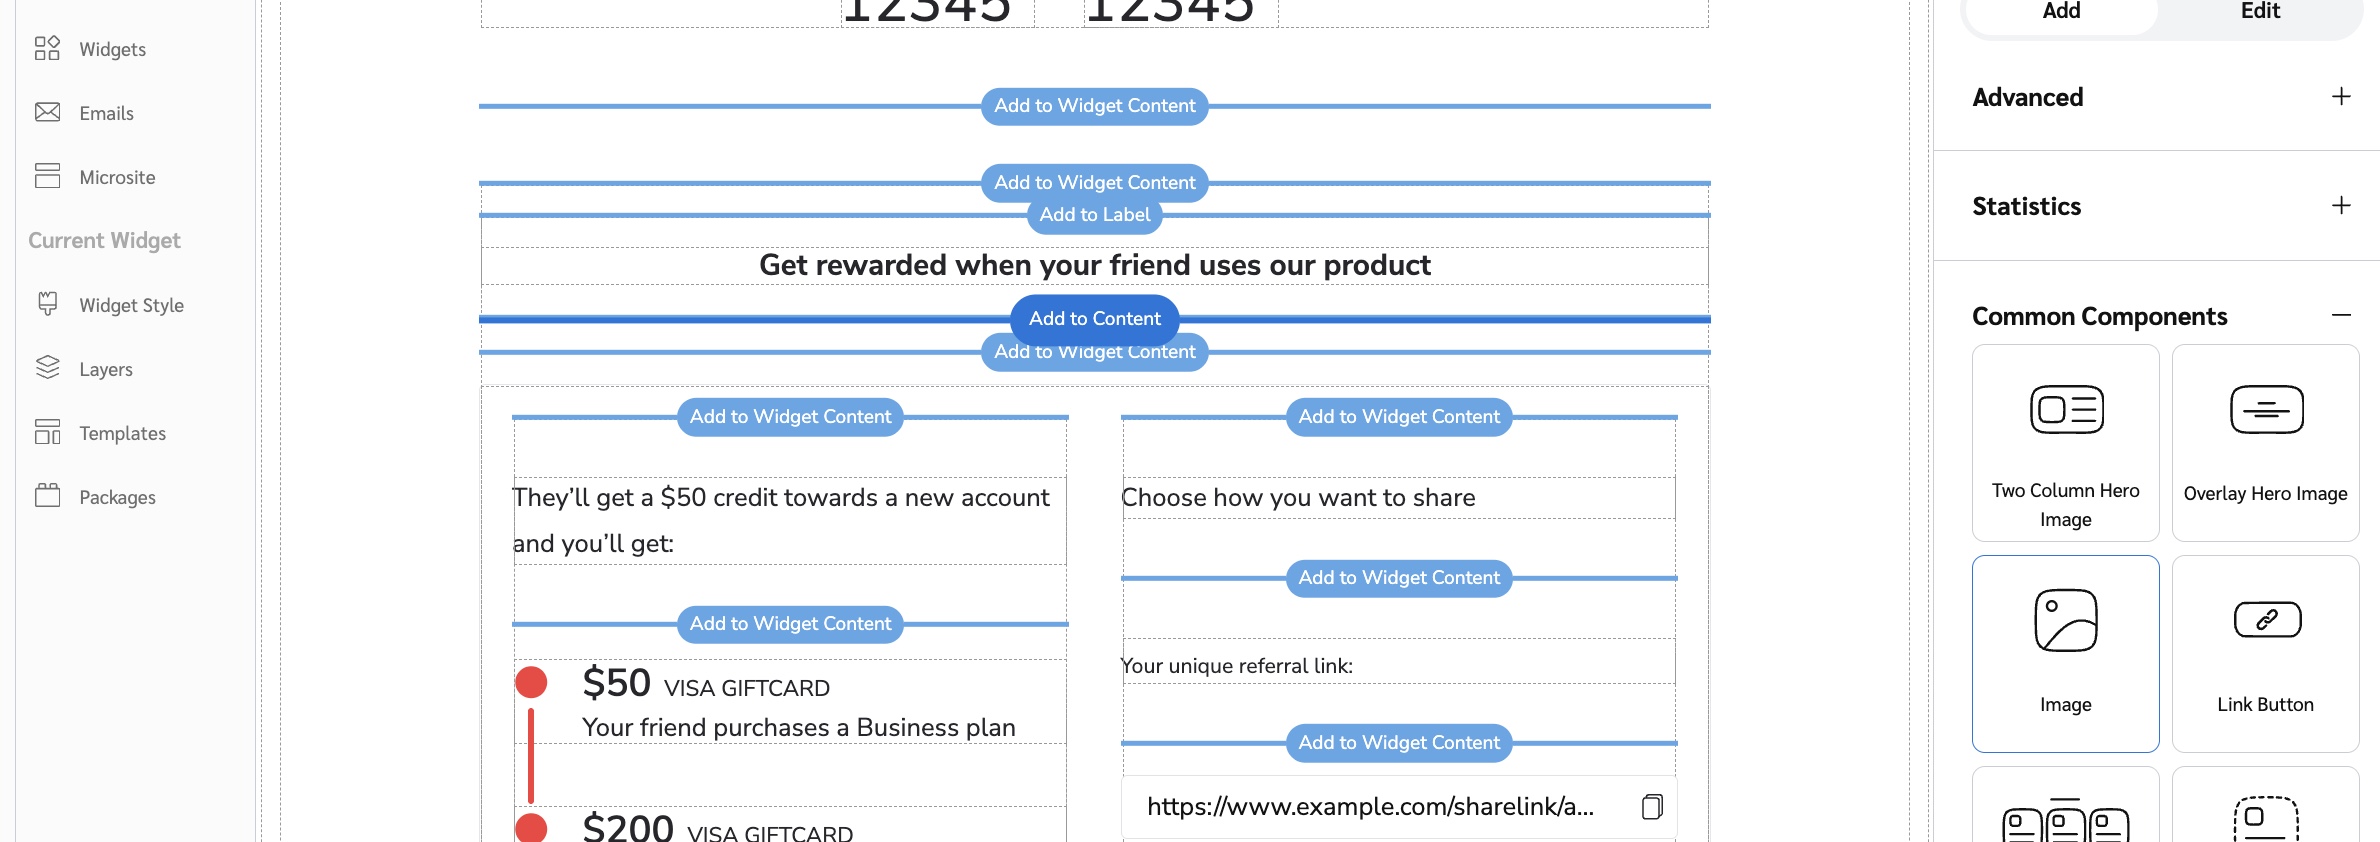
On the right side of the page, in the Component menu's Add tab, select a component group.
Learn more about the available components and how they're grouped together.
Select the appropriate component.
Select the blue Add to button where you want the component to appear on the canvas.
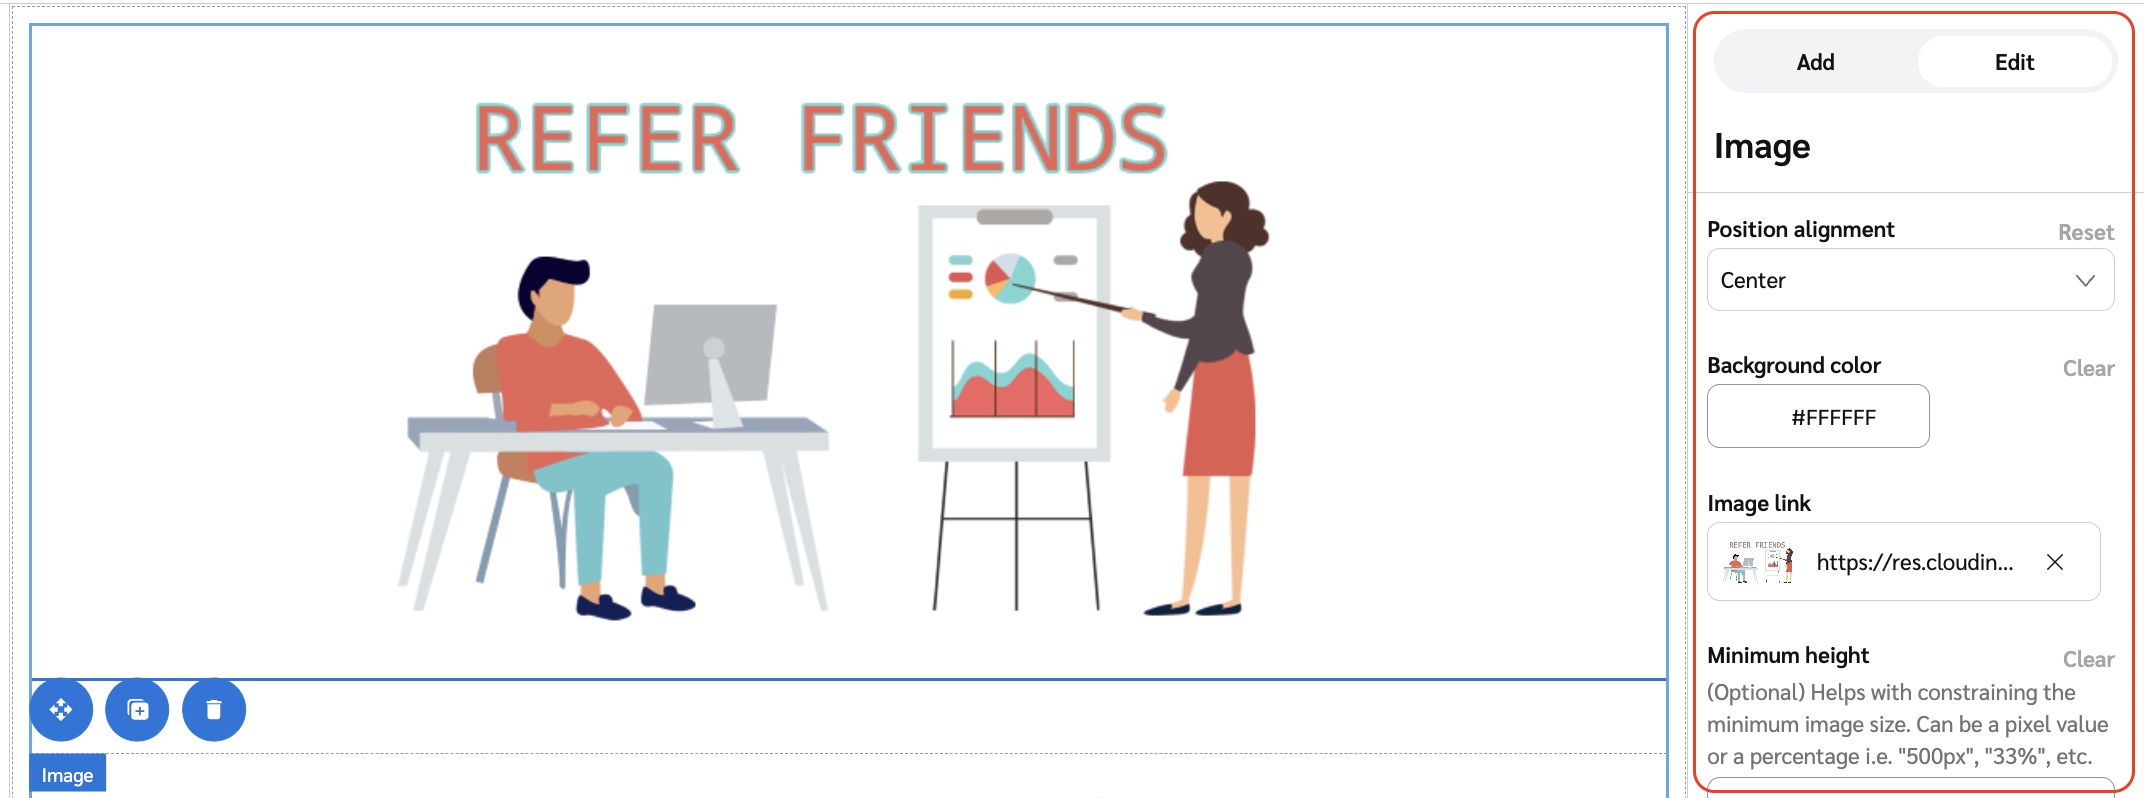
The properties you can edit will depend on what type of component you selected. For example, if you select the Hero Image component, you’ll be able to select a new image and change the background color. If you select a text-only element like a header, then you can modify the font, text color, and text content.
Select the component you want to edit.
Use the options in the Component menu's Edit tab to change its properties.
If you want to insert a link into a text component, you can do so by editing the widget’s HTML.
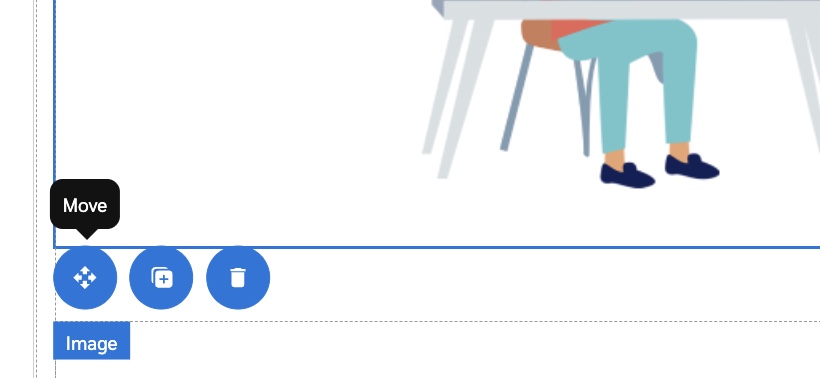
Within the canvas, select the component you want to move.
Select
[Move].
Some components can’t be moved. The
[Move] option will only appear if there’s another valid location on the canvas for the component to move to.
Select the blue Move to button where you want the component to go.
Instead of a drag-and-drop approach, you'll need to select the button and then select the destination.
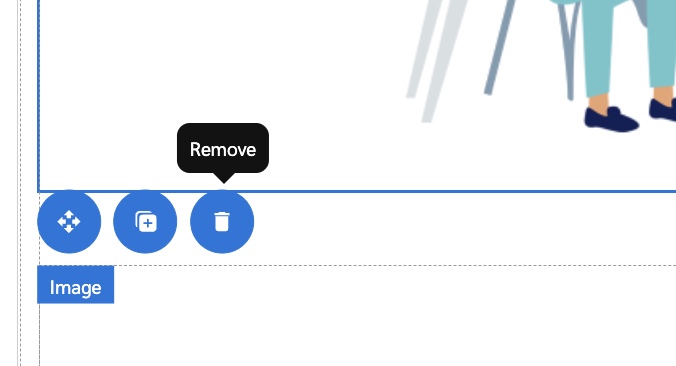
Select the component you want to remove in the canvas.
Select
[Remove].
On the right, from the Component menu's Add tab, select the Common Components category.
Select either:
Overlay Hero Image (an image with overlaid, editable text)
Image (a plain image with no text on top)
Add the image to the canvas.
From the Component Menu's Edit tab, select the Choose File button below the Image heading.
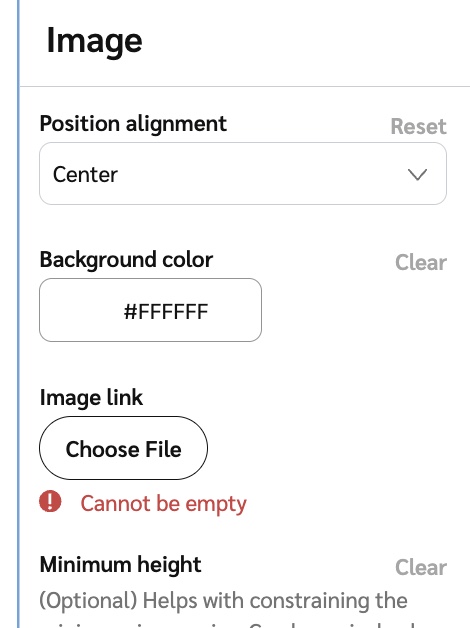
Within the canvas, select the photo you want to change.
In the Edit menu, select
[Remove] and then select Choose File to reupload a new image.
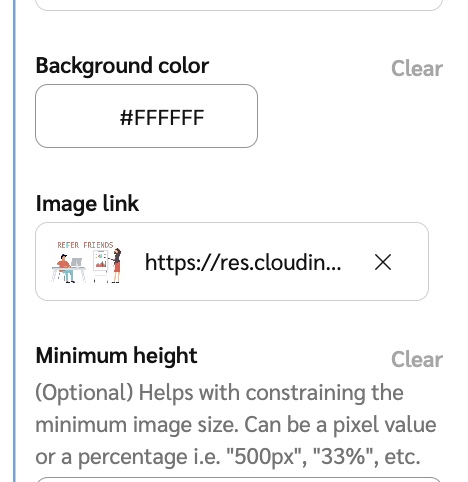
Upload the image using one of these methods:
Drag and drop the image
Browse for a file on your computer
In the Web Address tab, paste the public URL of the file
Select Done.
Preview how the widget will appear to your participants by selecting
[Preview] from the top menu bar.
You can switch between a preview of the experience for
![[Desktop]](https://paligoapp-cdn-eu1.s3.eu-west-1.amazonaws.com/impact/attachments/f01cdffa431a4d75ff09c130b66974d4-d15d4cf76f8cfdab77a7a9d877ead378.png) [Desktop],
[Desktop], ![[ipad]](https://paligoapp-cdn-eu1.s3.eu-west-1.amazonaws.com/impact/attachments/f01cdffa431a4d75ff09c130b66974d4-490f19287b2efde48067caa125fb2c16.png) [Tablet], or
[Tablet], or ![[ipad]](https://paligoapp-cdn-eu1.s3.eu-west-1.amazonaws.com/impact/attachments/f01cdffa431a4d75ff09c130b66974d4-6cec3fc765f535ee02c0db32f46fff72.png) [Mobile] users by selecting the respective device icon.
[Mobile] users by selecting the respective device icon.
To return to the editing interface, select
[Edit] from the top menu bar.

Save your changes.
When you select Save, the changes will be added to your program draft.
Advanced customization options
Advanced components allow you to include conditional content that is based on the participant's email, segment, or custom field. For example, if you want to display a leaderboard only for participants who are gold-level subscribers, the conditional section on segment component will let you do so.
You can add advanced components from the Add tab. Setting them up takes a little extra work as you’ll need to enter a JSONata expression ![[External link]](https://paligoapp-cdn-eu1.s3.eu-west-1.amazonaws.com/impact/attachments/f01cdffa431a4d75ff09c130b66974d4-b8ebe06c75d53cc8d24756ae9b7589e2.svg)
